Affinity photo tutorial. 63 Best Affinity photo tutorials images 2019-12-25
Affinity Revolution

Inside the Studio, we have panels that give us a variety of options. Just go to the top of the screen to File, and then press Open. Whether you want to change the look of a photograph, scale and crop images, or create complex photomontages, each adjustment is completely nondestructive, allowing you to retain quality and incorporate additional effects as you go. The keyboard shortcut is T. There is a lot of good information there. Fortunately, the interface is very user-friendly, so getting used to where things are will be a piece of cake! Use the drop-down list to select the driver settings you want to adjust.
Next
Affinity Photo pdf manual for your enjoyment.
This eBook takes everything you know and love from our , and converts it to an easy-to-read guide. Ezra, you are awesome dude! Will eventually all old videos be adapted? Select the picture that you would like to open. You can rotate individual assets on a canvas by using the options within the Transform Studio, or by directly manipulating rotation via the rotation handle. I have produced a pdf version of the Affinity Photo manual that you can read without starting the program. The Printing Workflow Think of photo printing in Affinity Photo as a three-step process.
Next
Affinity Photo Tutorials
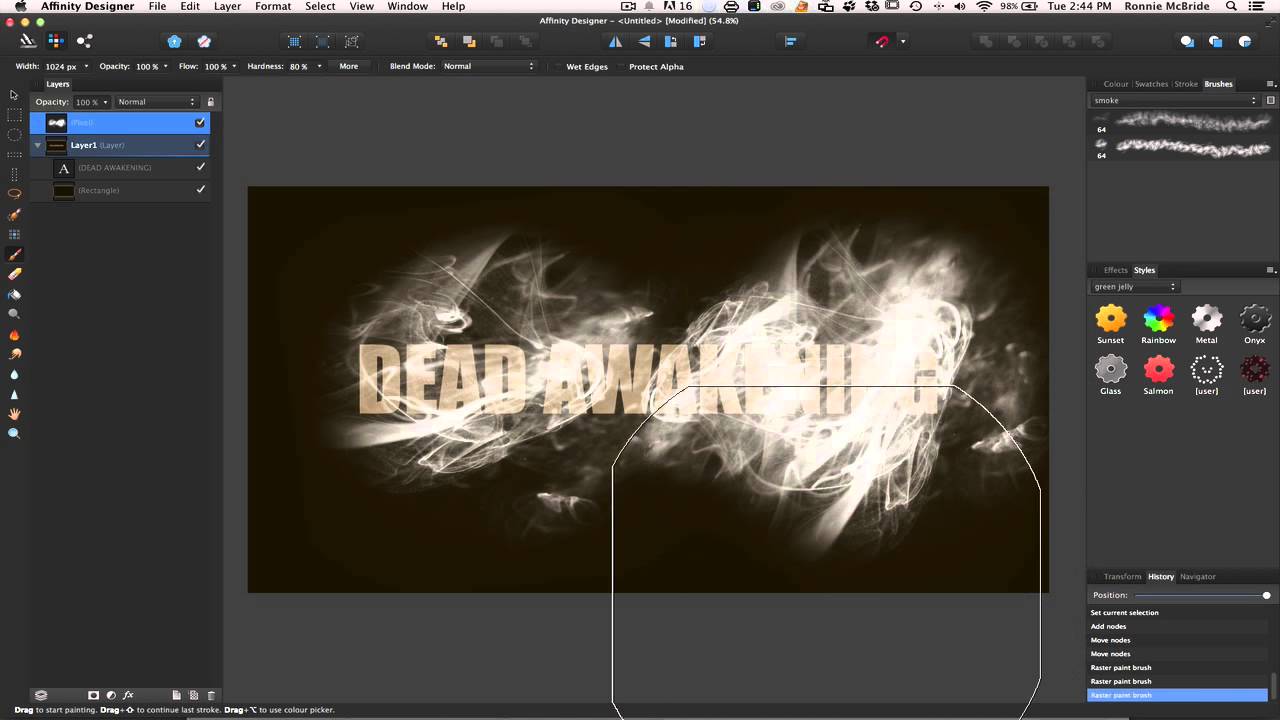
Conclusion Affinity Photo, while not perfect, is an. In the meantime, I'd recommend checking out the beginners videos for the desktop version - although the iPad version has a different layout, the concepts explored in those videos remain the same, such as layers, adjustments, filters and so on. Pinpointing has been renamed I'm aiming to get a few more videos done over the next 2-3 weeks there is of course the Publisher launch to think about as well. Credits: Photograph by James Ritson. Using the Alignment Options link at the bottom of the Transform Studio, editors can access horizontal and vertical alignment along with object distribution settings. If you are new to Affinity Photo, this is the perfect video for you.
Next
Online Courses
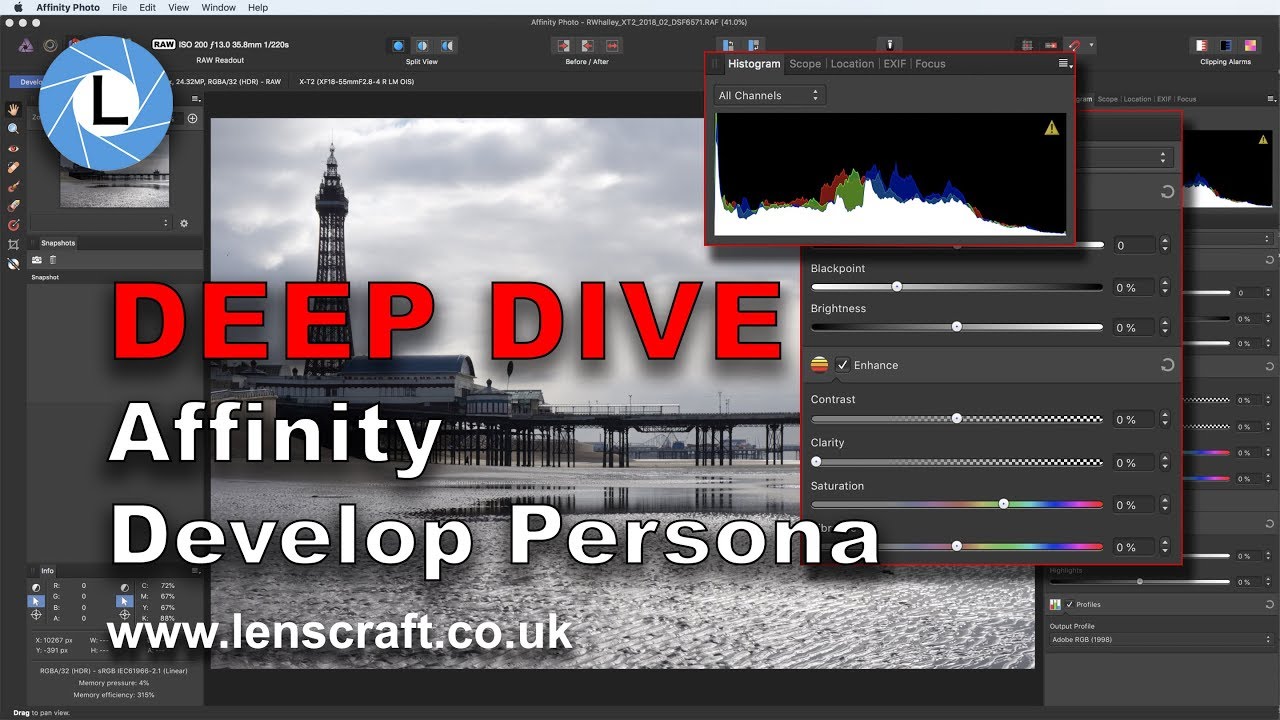
I have not looked at your pdf on my computer so can't be sure if one can jump to a particular section of the contents pages but I did find that I could not using either of 2 pdf readers that I have on my Android phone. I would also suggest that you lower the Hardness in the Context Toolbar to 0%. If you ever want to reset the panels to the way they were when you first opened Affinity Photo, scroll down to the last option, and press Reset Studio. Adjustment Layers Adjustment layers allow you to non-destructively change the colors of your photos. These options are located in what is called the Context Toolbar.
Next
Affinity Revolution
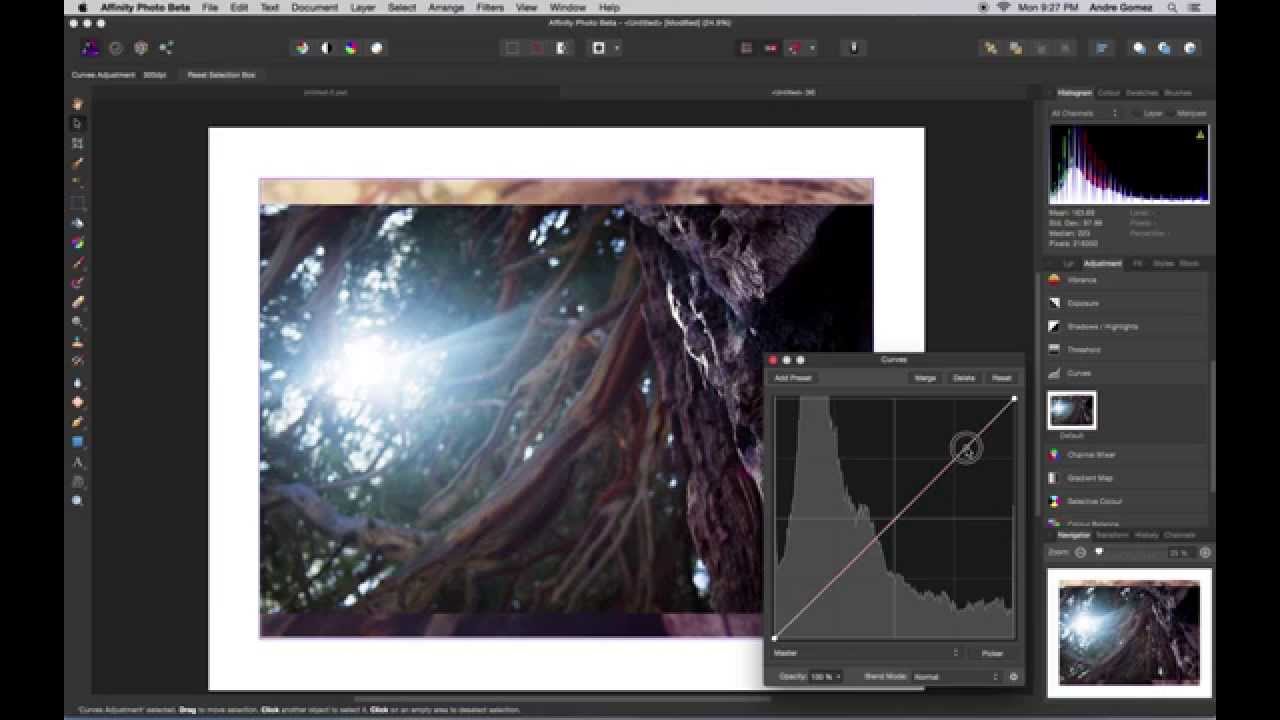
Alternatively, same question as above: are the old ones still available? This means that we can paint in black or white to reveal or hide our adjustments. The picture is automatically turned black and white, but in the Dialog Box, we can change the sliders to affect how light or dark each of the individual colors becomes. Changing the Background Changing the background of a photo is another quick edit that beginners want to know how to do. As you move about the canvas, the currently open Studio will disappear in order to give you a full view of your work surface. Saving and Exporting If you want to save a file so that you can keep working on it later, go to the top fo the screen to File, then Save As.
Next
Affinity Photo Printing for Photographers

In the Layers Panel, we can see that we now have two copies of the same image. This is a very useful shortcut to remember. They allow you to target specific areas of a picture. On the right side of Affinity Photo, we have the Studio. And they are looking for something else, something more robust.
Next
Affinity Photo on Vimeo
If you prefer written tutorials for learning, or just want a quick reference to all of the most important information in this program, this book is for you. See more ideas about Photo tutorial, Videography and Photo software. If we wanted to copy the adjustment layer as well, then we would need to have had that layer selected as well when we copied the moon. We could make another selection of the moon, or we could use a shortcut to reload our previous selection. If we increase the Red slider, all of the reds in the picture will become lighter. If we wanted to, we could change the Size at the top of the Dialog Box, or lower the Quality. With this selection, we can increase the Smooth slider to remove the jagged edges from the selection.
Next
Affinity Photo for Beginners

We can change the Font to whatever we want. Hope you find them useful! What would really help me and the many others in the same position are some tutorials that start with importing a photo and take the viewer step by step through the editing workflow to the final product : That way I can watch on the Mac, fire up Affinity on the iPad and follow along, and learn things in workflow order which helps me remember them : i can highly recommend these tuition vids as well as the official ones I agree that some basic videos are needed. You can change the number of columns that appear in the Tool Panel at the bottom of the screen. If we have the image layer selected, and we paint in black or white, then we are just adding white and black paint to the layer. The great thing about cropping inside of Affinity Photo is that your original picture is still there. Now you have many options for adjustments you can apply to the picture.
Next
Affinity Photo
Be sure to place your Adjustment Layers beneath the Soft Proof layer in the image Layer Stack. Click on the Mask layer icon in the Layers Panel to select it. Hi all, thanks for the feedback so far! With the text box still selected, we can use the Context Toolbar to alter the text. Snapping can be enabled by tapping the Document button next to the Home button in the upper left-hand corner. In the Print dialog, there are a few settings that you may need to adjust before hitting that print button.
Next